Remember asking your parents, “Are we there yet?” or “How much longer?” Time is a fundamental concept, and learning to read an analog clock is a significant milestone for any child. While digital displays are everywhere, understanding a traditional clock face builds crucial cognitive skills. This guide will walk you through teaching this skill effectively, using tools like a child’s learning clock and engaging activities, including helpful free worksheets.
Why Bother with Analog Clocks Today?
In a world dominated by digital readouts, you might wonder if teaching the analog clock is still necessary. Absolutely! Interacting with an analog clock helps children visualize the passage of time, understand concepts like “half past” and “quarter to,” and develop spatial reasoning skills. Using a teaching clock provides a hands-on experience that digital clocks can’t replicate.
Getting Familiar: The Parts of an Analog Clock Face
Before diving in, let’s break down the clock face. Understanding the components is the first step in analog clock learning.
- The Minute Marks: Look closely! There are 60 small marks around the edge of the clock face, representing each minute in an hour.
- The Clock Face: The circle with numbers 1 through 12.
- The Hour Hand: This is the shorter hand. It moves slowly around the clock, pointing to the current hour.
- The Minute Hand: This is the longer hand. It moves faster than the hour hand, completing a full circle every hour, indicating the minutes.
- The Numbers (1-12): These primarily represent the hours. However, they also help mark intervals for the minutes.
Starting the Clock Learning Journey: Step-by-Step
Teaching time telling is best done in stages. Patience is key! Grab a learning time clock – these often have movable hands and clear markings, making the process easier.
Mastering the Hour Hand:
- Begin by focusing only on the short hour hand. Set the minute hand permanently to the 12 (o’clock position).
- Move the hour hand to point directly at a number (e.g., 3). Explain, “When the short hand points to the 3, it’s 3 o’clock.”
- Practice pointing to different hours and having your child identify the time (“What time is it now?”). A clock for teaching time with geared hands (where the hour hand moves correctly as you move the minute hand) is beneficial later, but start simple.
Introducing the Minute Hand:
- Once your child understands the hour hand, introduce the long minute hand. Explain that this hand tells us how many minutes past the hour it is.
- This is where counting by fives comes in! Point to the number 1 and explain it means 5 minutes past. Point to the 2 and explain it’s 10 minutes past, and so on, up to the 12 (which means 0 minutes past, or “o’clock”).
- Practice counting by fives around the clock face using the minute hand.
Bringing Both Hands Together:
- Now, combine the hands. Start with “o’clock” times (minute hand on 12).
- Gradually introduce times like “five past,” “ten past,” etc. Set the teaching time clock (e.g., hour hand just past the 2, minute hand on the 3) and explain, “The hour hand is past the 2, and the minute hand is on the 3, which means 15 minutes. So, the time is 2:15.”
- Continue practicing various times.
Learning Key Time Phrases:
- Introduce concepts like “half past” (minute hand on the 6), “quarter past” (minute hand on the 3), and “quarter to” (minute hand on the 9). Show these visually on the analog teaching clock. Explain what “to” means (how many minutes until the next hour).
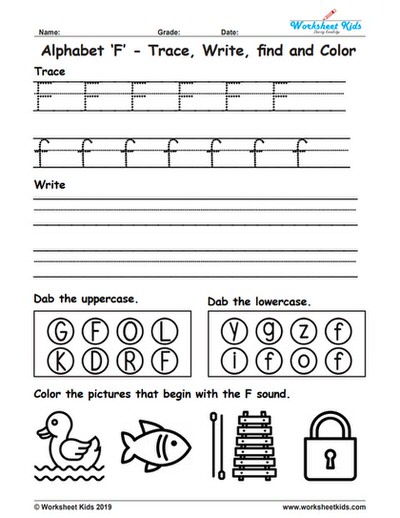
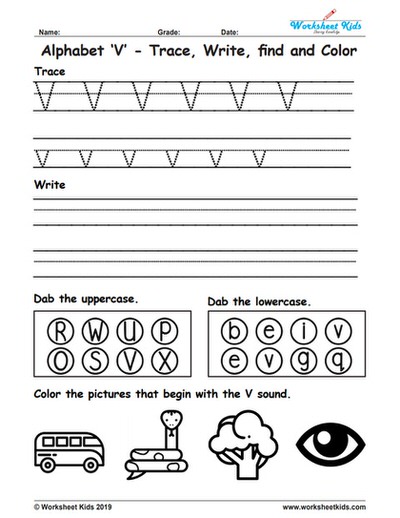
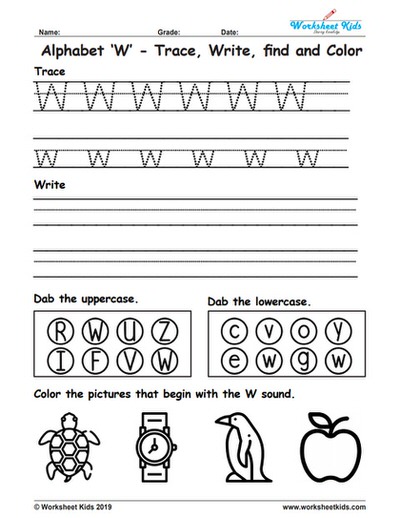
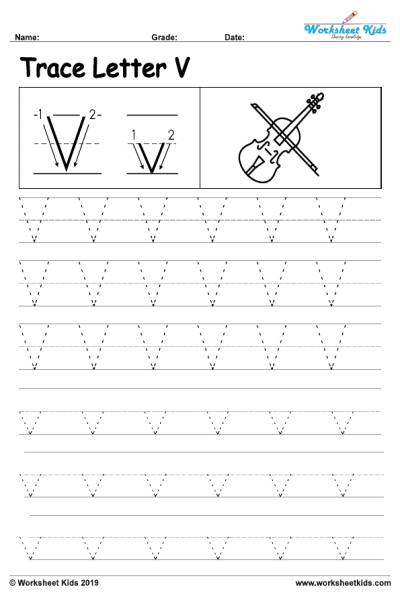
Free Clock Learning Worksheets to Boost Skills
Worksheets provide excellent reinforcement and transform clock learning into a fun, hands-on activity. Thankfully, you can find tons of free printable worksheets online covering various aspects of telling time. Look for these effective types:
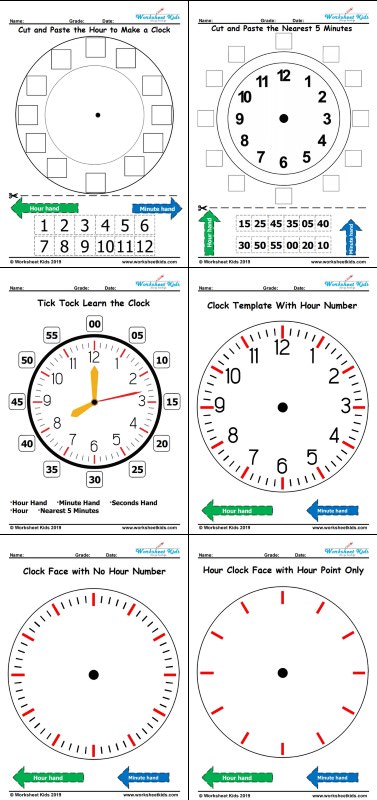
Clock Face with No Hour Numbers: A blank clock circle with only the center dot. Children first fill in the numbers 1-12 in their correct positions, then draw the hands for specific times. This tests their memory of the clock layout.

Clock Template with Hour Numbers: A basic clock face with numbers 1-12 printed. Children can practice drawing the hour and minute hands for different times called out or written down. Ideal for learning how to tell time on a clock from scratch.

Cut and Paste the Hour: Children cut out hour numbers or hour hands and paste them correctly onto clock faces showing “o’clock” times. This reinforces the hour hand’s function.

Cut and Paste the Nearest 5 Minutes: Similar to the hour activity, but focusing on the minute hand. Kids cut and paste minute hands or digital times corresponding to clock faces showing times to the nearest 5 minutes (e.g., pointing to the 4 for 20 minutes past). This strengthens understanding of 5-minute intervals.

Hour Clock Face with Hour Points Only: This worksheet shows clock faces with just the small marks or dots where the numbers should be. The focus is purely on placing the hour hand correctly for different hours, ignoring the minutes for this specific exercise.

Tick Tock Learn the Clock: These often involve matching analog clock faces to digital times or drawing hands on clocks to show a given time. Great for general practice.

These free learn to tell time clock worksheets to cater to different stages of learning and keep practice varied and engaging without costing a penny.
Tips for Time-Telling Success
- Make it Fun: Use a colorful child’s learning clock, play time-telling games, or sing songs about clocks.
- Be Patient: Every child learns at their own pace. Celebrate small successes!
- Practice Regularly: Short, frequent practice sessions are more effective than long, infrequent ones.
- Use Real-Life Examples: Relate telling time to daily routines. “It’s 7 o’clock, time for breakfast!” or “Your swimming lesson is at half past 4.”
- Stay Positive: Your encouragement makes a big difference.
Learning to tell time on an analog clock is a valuable skill that empowers children. By using a learning clock, incorporating fun activities, and providing consistent practice with readily available free tools like worksheets, you can help your child confidently master the clock face. Enjoy the process!